
 Inserting an image in your Google Doc has never been easier. Use Google's SafeSearch to quickly add an online image to your Google Doc. Follow these steps to insert & resize images in your Google Doc. For a video version of this tutorial, click here.
Step 1: Position your cursor to where you want to insert the image on your Google Doc.
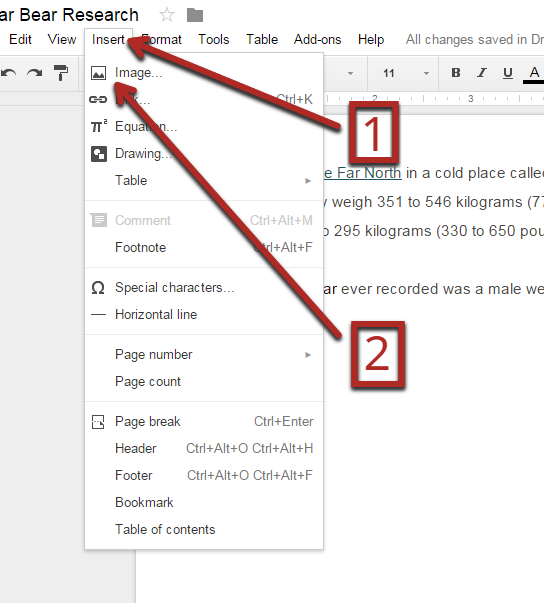
Step 2: Click “Insert” on the Menu Bar, then click “Image…”
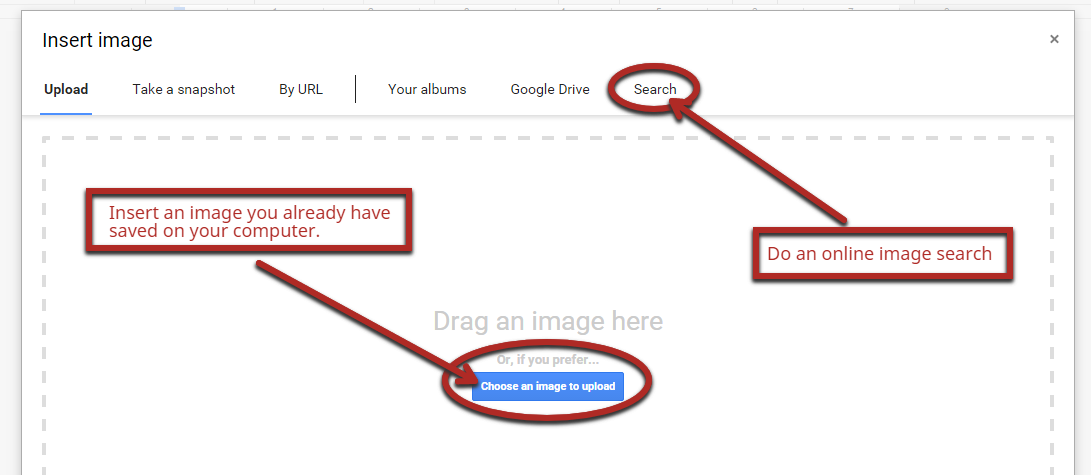
Step 3: “Choose an image to upload” if you already have an image saved on your device, or, click “Search” to bring up an online image search.
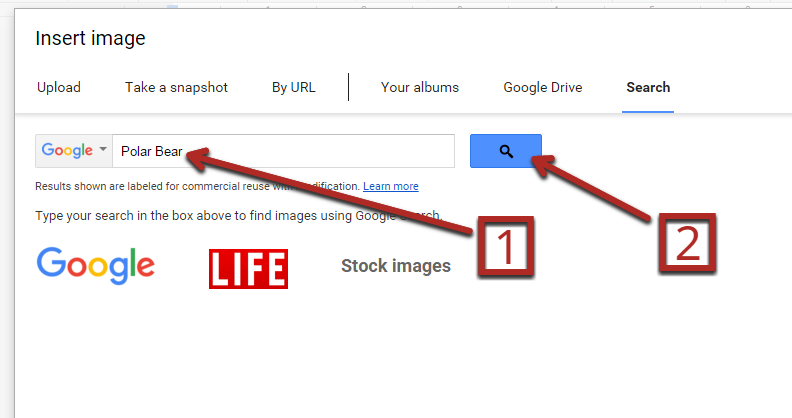
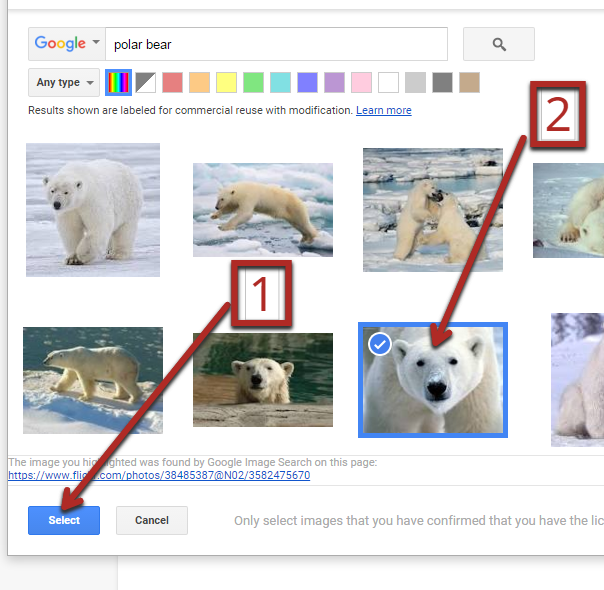
Step 4: Type your keywords in the search box, then click the search icon or press Enter on your keyboard.
Step 5: Click on “Any type” to sort images by photos, clip art, etc.

Step 6: Click the image you want, then click “Select” to insert the image into your Doc.
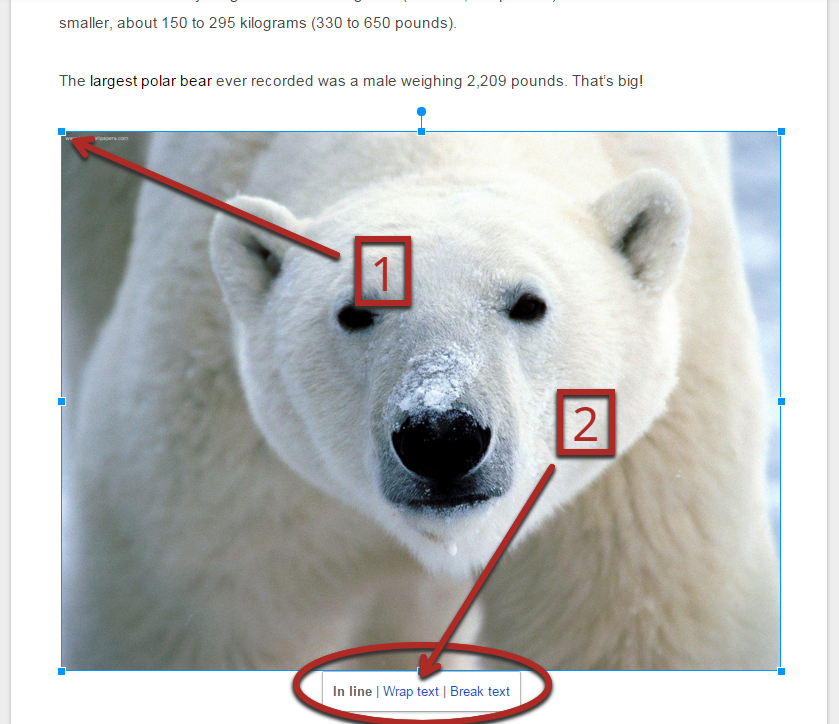
Step 7: Click on the middle of your image to select it. Then, click & drag the top corner, or bottom corner of the image to resize it. To change the wrapping, select the image and choose either in-line, wrap text, or break text. In-line means that the picture acts like a piece of text and it cannot be freely placed on the page. Wrap text means that the image is free and can be placed anywhere on the page, and that text will wrap around it. Break text is the same as wrap text except that there will be no text to the right or left, only above and below.
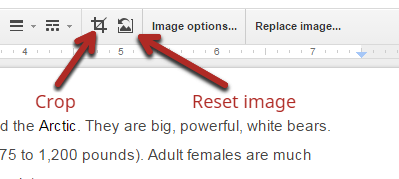
Step 8: Click on your image and then click the “crop” icon to crop your images, or click the “Reset Image” icon to reset the image to it’s uncropped state.
Video Tutorial:


Thanks for the blog, You can visit Image Retouching Service if you are looking to hire editing service at affordable price.
ReplyDeleteI have read news on technical sites that GiveBIG is now dominating the spring fundraising season for most nonprofits in every sector in Seattle and King County. The nonprofit community and fundraising thought leaders are trying to make sense of the GiveLjogos friv online
ReplyDeleteJogos live
jogos friv 4 school
ocalAmerica kerfuffle. Great!!
I knew at a young age that the nasty green shot you got at the health food store or juice bar, that was followed with an orange squad (yes, an orange wedge, but I called them squads) was good for me, but I had no idea why, the same kinda follows now, except I know a few more details about it's real health benefits, because I am genuinely interested in what it provides to my overall well-being.
ReplyDeletekizi car games
jogo friv gratis
play friv
Simply it was an amazing writing. I appreciate it
ReplyDeleteI have some suggestions. Here is a blog - Photo editing & photography tips.
This may help you to find something useful
kırşehir
ReplyDeletekırıkkale
manisa
tokat
urfa
İ4KX5