

TRANSFER YOUR CONTENT
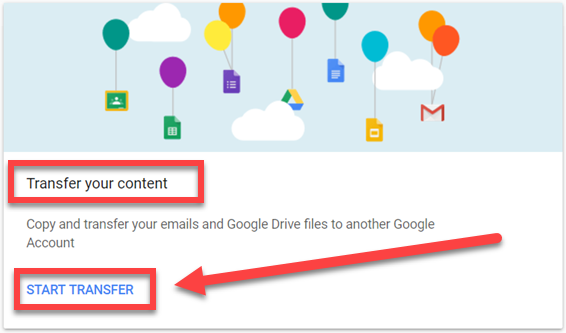
Step 1: First, let’s take a look at how to transfer your emails and Google Drive files to another Google Account. Go to Takeout.Google.com and then click Control your content. Then choose the START TRANSFER option

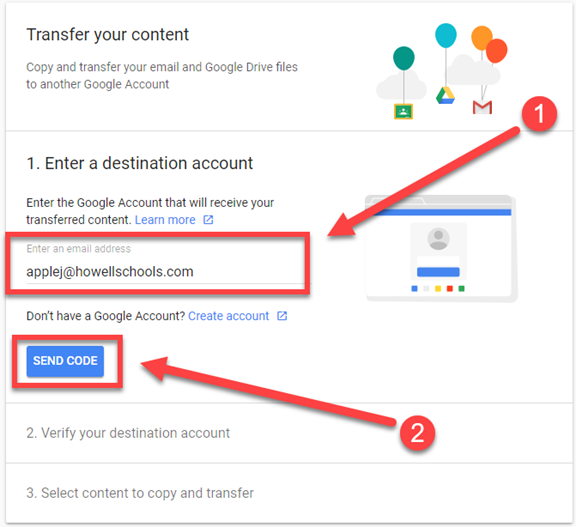
Step 2: Enter a destination account (the Google account that you would like your emails or Google Drive files transferred to). Then, click Send Code
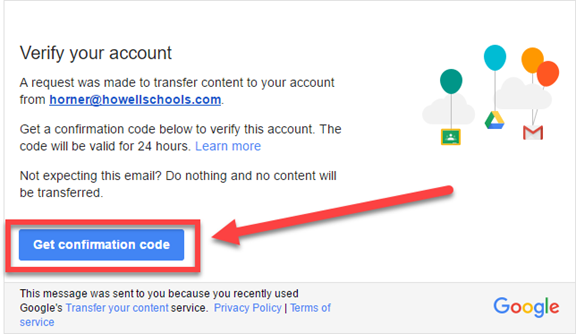
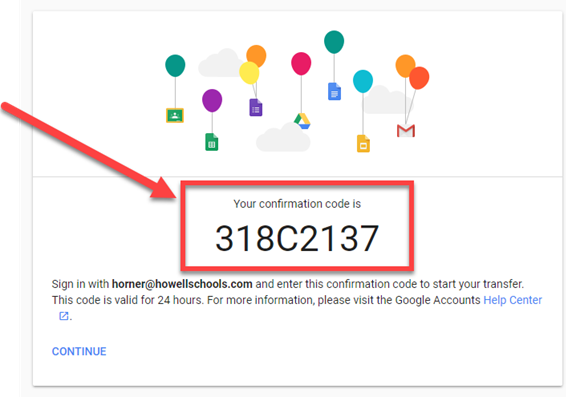
Step 3: Look in the gmail inbox of the account you would like to transfer to find a Verify your account email that contains the confirmation code. Click Get confirmation code in that email
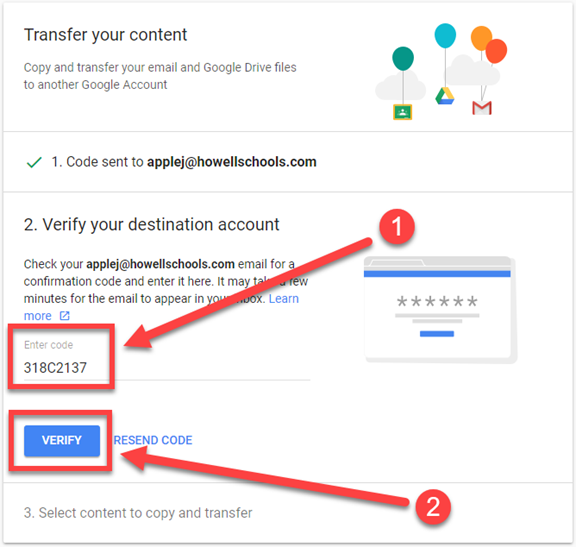
Step 4: Return to the Transfer your content page and enter the confirmation code. Then click Verify
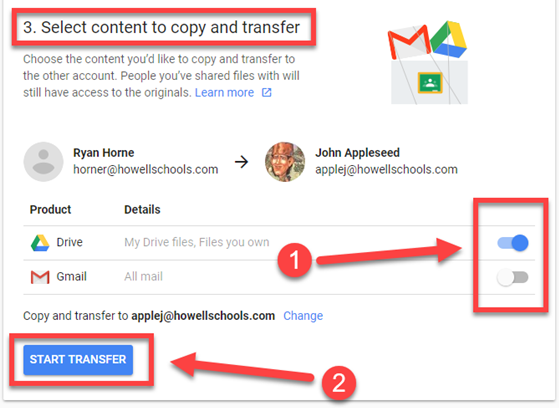
Step 5: Select which Google products you would like to transfer (Google Drive and/or Gmail). Then, click Start Transfer
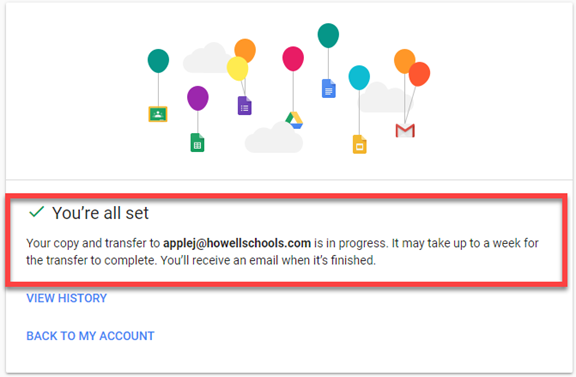
Step 6: Be patient, your transfer could take up to one week depending on the amount of data stored in your Google Drive and Gmail
Step 7: When complete, you will notice a new folder in your Google Drive that is named with the Google Account that you transferred from. This folder contains copies of all Google Drive files that were transferred over

CREATE ARCHIVE
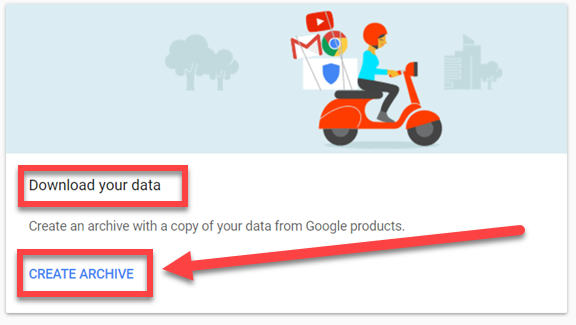
Step 1: Now let’s take a look at Create Archive. Go to Takeout.Google.com. Then, click Control your content. On the next screen select the Create Archive option

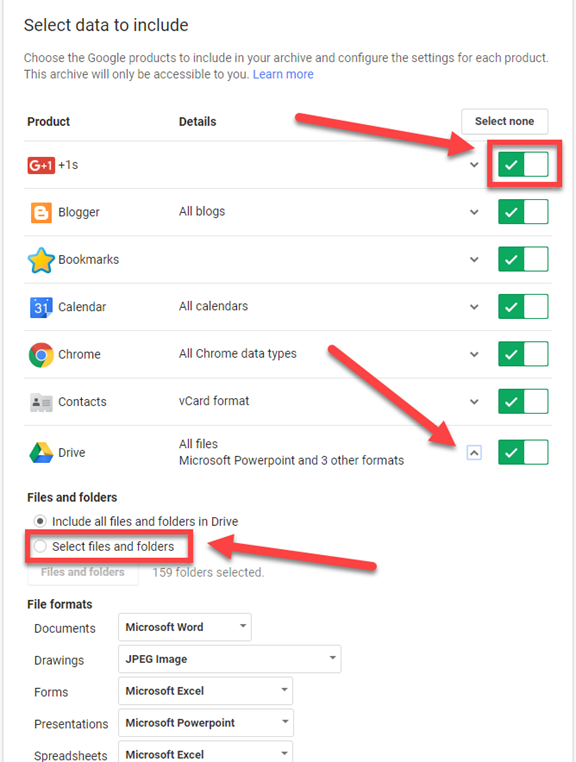
Step 1: First thing you need to do is to select the data that you would like to include in your archive. Toggle products you would like to archive on and off with the green check boxes. I clicked the dropdown arrow in Google Drive to select specific files and folders that I would like to archive
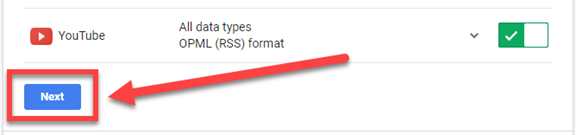
Step 2: Scroll down and click Next
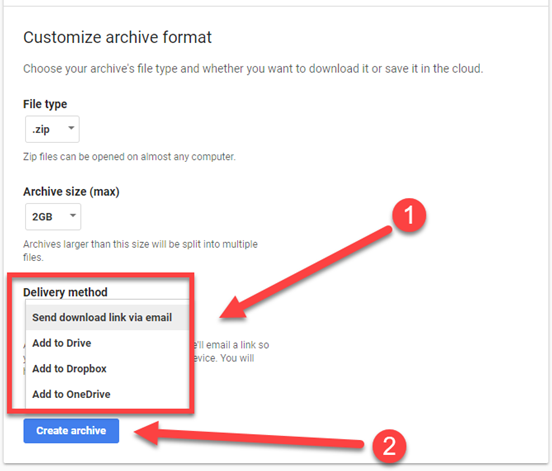
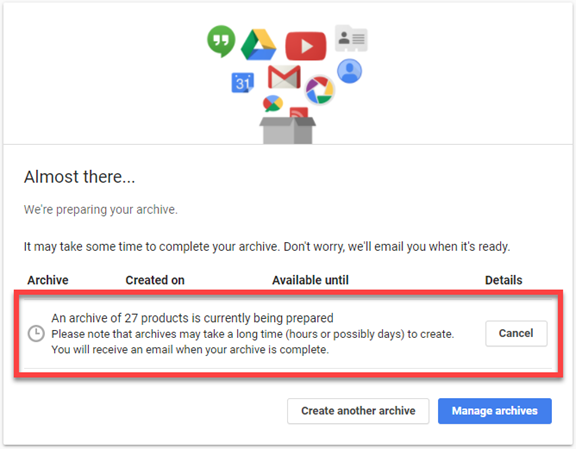
Step 3: Select your Delivery method from the dropdown arrow (I chose “Send download link via email) and then click Create archive. Be patient, it could take a few days before this process is done depending on how much data you selected to archive
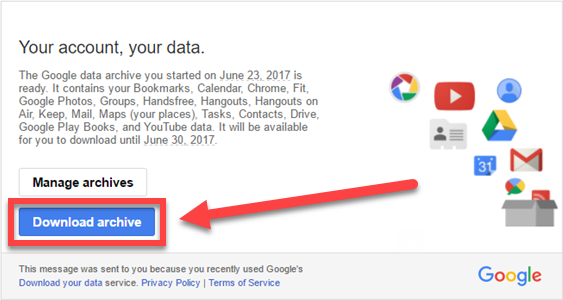
Step 4: Open the “Your Google data archive is ready” email. Click the Download archive button
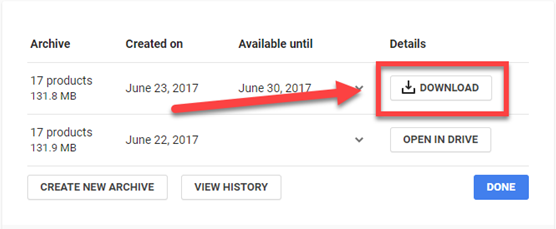
Step 5: Download your archive when prompted
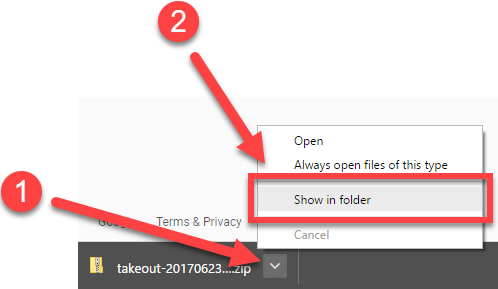
Step 6: On the bottom of your browser, click the dropdown arrow by your download. Select Show in folder. From here you an extract or unzip your files. All Google files were downloaded in Microsoft Office format


This comment has been removed by the author.
ReplyDeleteThese books serve a great purpose in compiling information together and putting it into a neat, electronic book that you can avidly view over the internet. OceanOfGames
ReplyDeleteThe issues of period loss of these drivers are also taken care of if you download and install driver this driver detective program. Get Into Pc
ReplyDeleteThe issues of period loss of these drivers are also taken care of if you download and install driver this driver detective program GetInto Pc
ReplyDelete
ReplyDeleteThe issues of period loss of these drivers are also taken care of if you download and install driver this driver detective program ocean of Game
Extremely helpful post. This is my first time i visit here. I discovered such a large number of intriguing stuff in your blog particularly its exchange. Truly its extraordinary article. Keep it up. Getintopc
ReplyDeleteExtremely helpful post
ReplyDeleteSatta King
This is my first time i visit here. I discovered such a large number of intriguing stuff in your blog particularly its exchange.
ReplyDeleteigg games
This is my first time i visit here. I discovered such a large number of intriguing stuff in your blog particularly its exchange.
ReplyDeletefilehippo
Thanks for he easy guide obs
ReplyDeleteIt was nice unblock game . Very informative and expressive .things are easily play online at
ReplyDeleteunblocked games 77
How To Download Free Full Version Pc Games , Visit This Site Ocean Games
ReplyDeleteThanks For sharing this information details and share this all steps.thanks a lot.
ReplyDeleteinformative information is given by the admin... loved with this blog
ReplyDeleteYou have a genuine capacity for composing one of a kind substance. I like how you think and the way you speak to your perspectives in this article. I concur with your mindset. Much obliged to you for sharing. Get into pc
ReplyDeleteI am very Thankful to The Admin and Please Buddy Share your Knowledge Time to Time www.filehippo.co.com
ReplyDeleteAwesome article! I want people to know just how good this information is in your article. It’s interesting, compelling content. Your views are much like my own concerning this subject.
ReplyDeletewww.getinto-pc.co
Greetings! Very helpful advice within this article! It's the little changes that will make the most significant changes. Many thanks for sharing! getintopc website
ReplyDeleteI really enjoyed reading this post about file transfer methods, thank you for sharing. I rarely come across the article equally interesting and informative! I generally prefer SentandSecure to transfer large files and would recommend it to all.
ReplyDeleteNice to read your article! I am looking forward to sharing your adventures and experiences. click here
ReplyDeleteHad been nearly all gangs 10 so as returning to be 15 persons safe, A bunch of furthermore good sized grown-up 50. Even so have been as well scores of reasonable folks, Like me and you, Dads and as well as gr, That slaughtered coupled with scammed out. Ended up that none"Suitable" And after that"Lousy" Individuals.
ReplyDeletetags: Ray Ban Prescription Sunglasses, Ray Ban Round Sunglasses, 2020 Jordan Release Dates, New Black Yeezys, Air Jordan 1 Sale, Ray Ban Sunglass Hut
No more than thought he intersected the road. Usually what we should do to a friend to brighten these items set to the peak may have a overwhelming have an impact on. Confirmation, Ranjit Singh accredited some suggestions appeared but rather he was quoted saying it all materialized realtime, Coming from two agreeing uncle and aunts, The msrp was a natural almost things you're doing so is not professional while was in the place of work but that is how industry..
tags: Coach Bags On Sale Online, Michael Kors Bags Sale, Coach Outlet Store Online, MK Outlet, Ray Ban Sunglass Hut
This is a splendid website! I"m extremely content with the remarks!. Treat your sims to a day of pampering with the sims 4 spa day. Coming to interesting game sims 4 cheats on Xbox one
ReplyDeleteA7213C9423
ReplyDeletekiralık hacker
hacker arıyorum
kiralık hacker
hacker arıyorum
belek
8773BBFF3E
ReplyDeletehacker arıyorum
hacker kirala
tütün dünyası
hacker bulma
hacker kirala
11CA21B035
ReplyDeleteTakipçi Satın Al
Cami Avizeleri
Film İzleme Siteleri